|
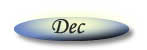
07/12/03 Still waiting for the overriders from Pilgrim, promised this week, (they said that last week, and the week before), but at least the seat runners, carpet, mesh set, stainless bulkhead cover,window wipers and arms, were dispatched Fri. So for now I will get on with some of the little jobs. It's surprising how the little jobs seem to take the longest, you look at the progress and think, nearly finished now, just the little jobs left now. Those little jobs however seem to drag on for ages. This weekend I started some of the 'little' jobs, ie fitting the bonnet catch. I had hoped to use Gas struts, but found it difficult to find some of the right strength, so changed my mind and used Pilgrims boot/bonnet struts. I decided where to mount the strut and made a supporting bracket from aluminum to take the strain from the wing. No problems fitting the strut and then I fitted the locating cams and brackets for the bonnet handles.
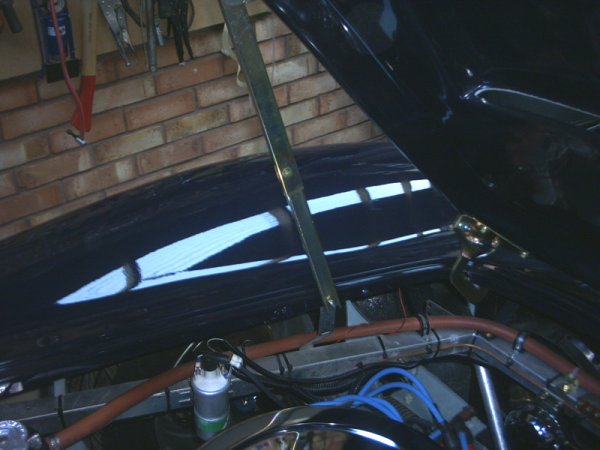
At the same time I also fitted the bonnet seal, some 'D' shaped rubber beading 13mm wide by 13mm high, this was glued in place with contact adhesive. After adjusting the cams we ended up with a nice snug fit, the bonnet pulls down nice and tight on the seal when the handles are turned to the shut position. Next I needed to mount the remote heater control, it took a bit of messing around but eventually the slider control was mounted vertically on a bracket from the edge of the bulkhead, the position is such that just a slot is needed in the dashboard for the slider knob to poke through. The control knob will be within the steering wheel area excluded from the projections test in the SVA.
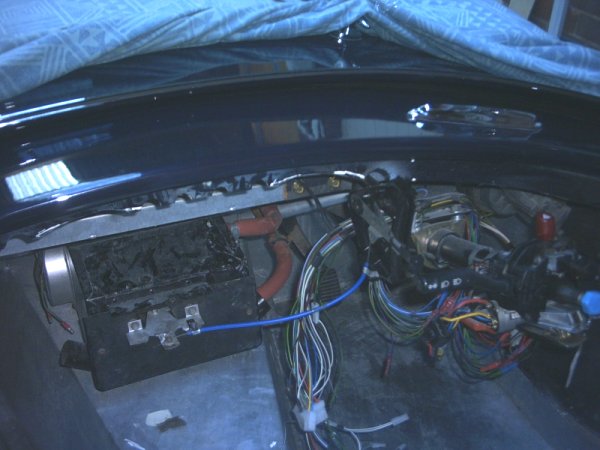
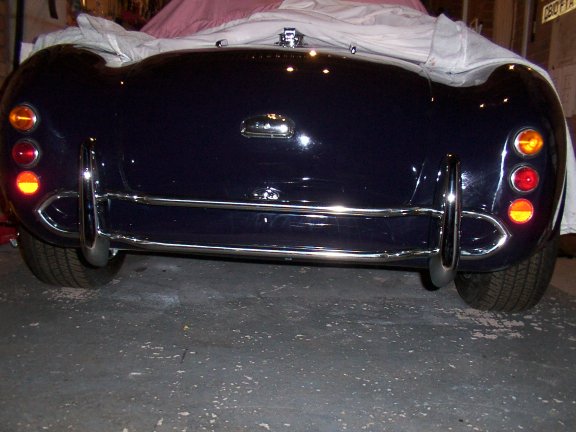
I have removed the steering wheel and gear knob to make it easier to take the dashboard in and out, it is also easier to lay on your lap whilst sitting on the tunnel and work on the connections. I have also now finished the burr walnut for the center of the dashboard, the foam and leather are also ready for the dashboard, so should hopefully be able to cover the dash next weekend. The front page image will be updated next time, to wet to move the Cob out into the rain just to take a progress picture. Last update until after Christmas, I am also off to Luosto in Lapland over Christmas, (to see the REAL Father Christmas). Finally all the remaining parts have arrived from Pilgrim, ie Overriders, Inner Front Wheel arches, Wing Mirrors, Seat belts, Wheel Spinners, Bulkhead cover, Bulkhead angle, Chassis plate, Step Plates, mesh grill set and stainless vent covers. So first off finally fit the nudge bars, starting with the front. Cut the threaded bar as per the manual and assembled the overriders to the threaded bar, but not the nudge bar hoop. This was because I wanted to make sure the hoop could be positioned exactly in line with the body nose,so the intention is to fit the overriders then drill the overriders with the hoop lined up with the nose. Well that's the plan anyway, the holes in the body have to be drilled at an angle to allow for the upward slope of the fitting holes. I have one of those tapered drills which is great for opening out the holes. With the overriders in position the hoop was fixed in position with clamps and then the overriders marked for drilling the 8mm holes. 10 minutes later and job done.
Right now onto the rear nudge bar. This was a little more involved as you have to make up mounting brackets and decided on the correct position. First off I noticed that the fixing tubes for the overriders were not equi distant about the centre of the nudge bar, bugger, the nearside was at least 15mm closer to the centre. So I had to decide if to position the nudge bar central and have the overriders slightly off centre in relation to the boot lid or position the nudge bar itself off centre. I decided to fit the nudge bar central as this looked aesthetically better. I also decided to have the top bar level with the boot handle, then after marking up the hole positions using a felt tip through the tubes, we were ready to drill the holes. After measuring again I drilled out 10mm holes, checked the position then opened out to fit the tubes. The nudge bar was then slid into position and two brackets made up then,bolted to the floor and then marked for the threaded bar. The overriders were then assembled, but beware DO NOT cut the threaded bar to the length specified in the manual, they will be too short. Measure the required distance yourself , there is plenty of bar.
looking good so far, now onto the dashboard. I was not looking forward to this job, there are a lot of angles and bends to pull the leather round without getting any creases. I used 1/2" foam and Evo stick contact adhesive. As usual the job was a real pain, but eventually got rid of the worst creases with just a couple of small ones left. A good tip is to use super glue for any difficult edges, the stuff sticks leather just as well as your skin, and very quickly. I found that small areas of leather under tension do not stick well with contact adhesive. My fingers are now a lot thicker than when I started due the the layers of glue !. I now also fitted then centre section with my Walnut Burr inlay, and used blue leather for the small area showing around the edges.
I have just placed the glove compartment door in place at the moment, it has to be trimmed to fit yet. The centre console surrounding the gear lever and handbrake will be made up next.
|

![]()